Extensible Flexfields in Oracle Fusion
What are the Flexfields in Oracle Fusion?
A flexfield is a set of placeholder fields associated with business objects and placed on the application pages to contain additional data. You can use flexfield s to modify the business objects and meet enterprise data management requirements without changing the data model or performing any database programming.
Extensible flexfield:
Multiple row contexts which display the context’s segments/attributes in a table can be created in order to have custom lists for the business objects.
Extensible Flexfields (EFFs) are new type of Flexfield s that are similar to Descriptive Flexfields. DFFs have limitations 1. They can appear only on the same page 2. The number fields are limited to the attribute columns provided in the table. With the help of multi-page feature EFF can overcome above limitations.
- Extensible flexfield helps to store the Multi row information’s in oracle fusion.
- Oracle fusion has already given the standard Extensible flexfield for each Important Oracle Fusion activity like (Hiring, Work Structure, Person Management, Suppliers, and Transactions).
- If we want to make changes in the already configured Extensible flexfield then first we need to know the name of the Extensible flexfield or we want to create the extensible flexfield in oracle fusion page, then first we need to find that Extensible flexfield and then create it.
- Here below I will share all most important steps about how to create Extensible flexfield in Oracle Fusion.
Steps to create the Extensible Flexfield:
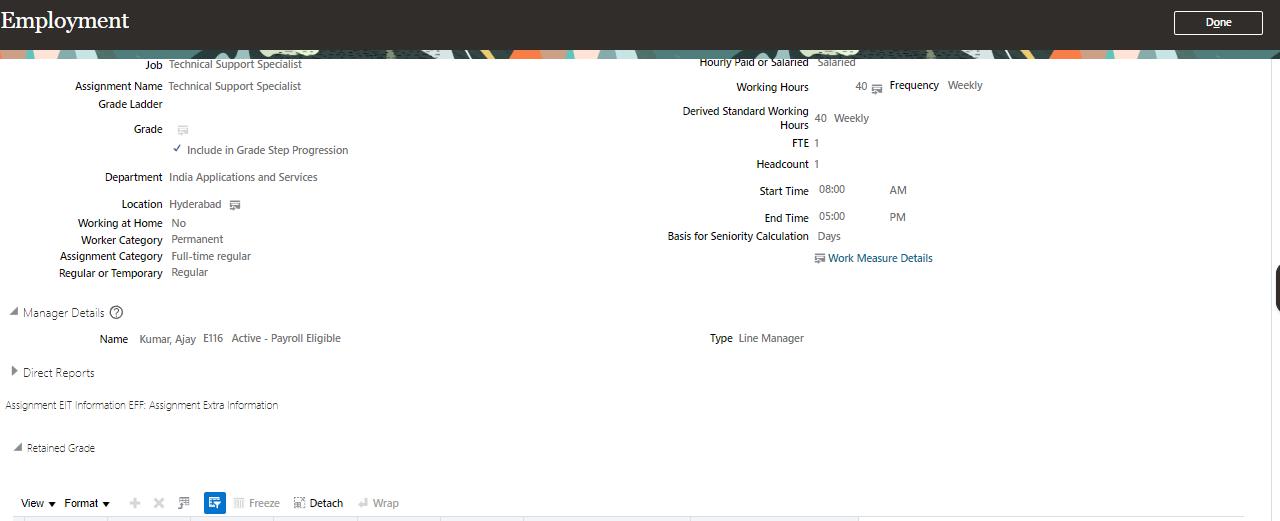
- In Below Example, I am taking the Example of Employment Page (employee details page) in Oracle Fusion As below. This is the Employment Page (employee details page) and I want to find the all Extensible flexfield available in this Web-page.
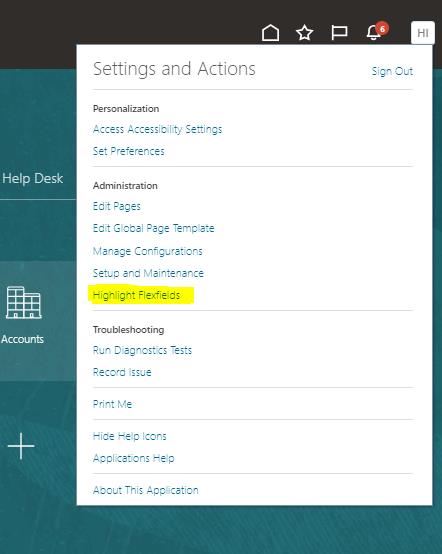
Now first we need to highlight the flexfield in Oracle Fusion.
- We have to go to Top right hand side of this web- Page and there you can see your login name and there you will see drop down option beside your login name.
You have to click this option as below. Click on Highlight Flexfields option.
Now if you will check in employment page, you will get the option.
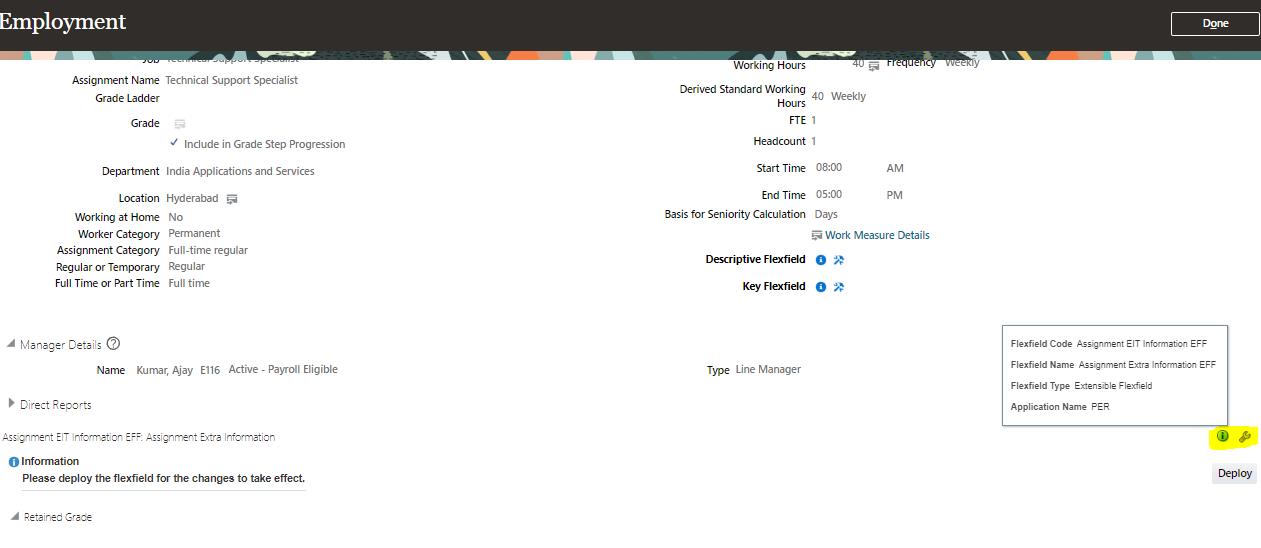
Now we want to create Extensible Flexfield for that we will click on the setting icon available in employment page.
After that one new page will open where we can see the flex filed type and all details.
Now we will click on the pencil icon available top of the flexfield type.
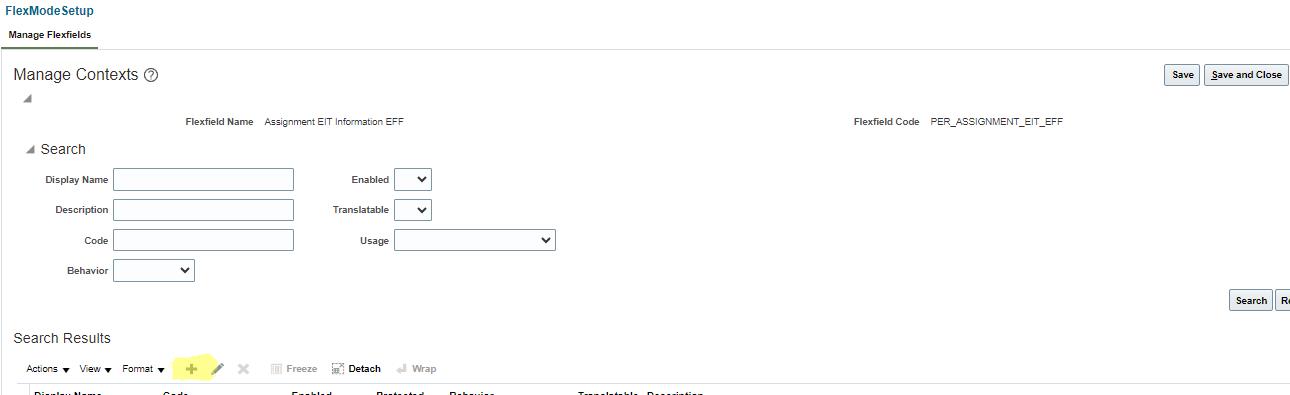
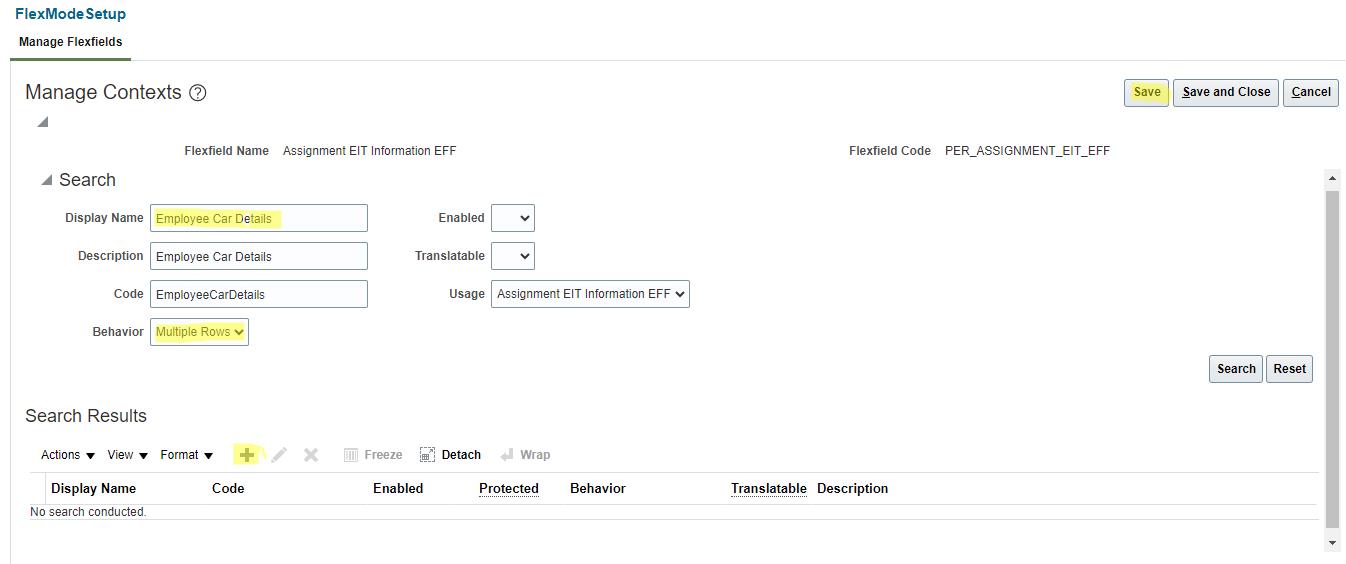
New Page will open on that page we will click on + icon and create Manage Contexts and we will give a Display name for EFF and save the name, After saving the contexts we will go down little bit and will click on + icon to add contexts usages and will save the Contexts.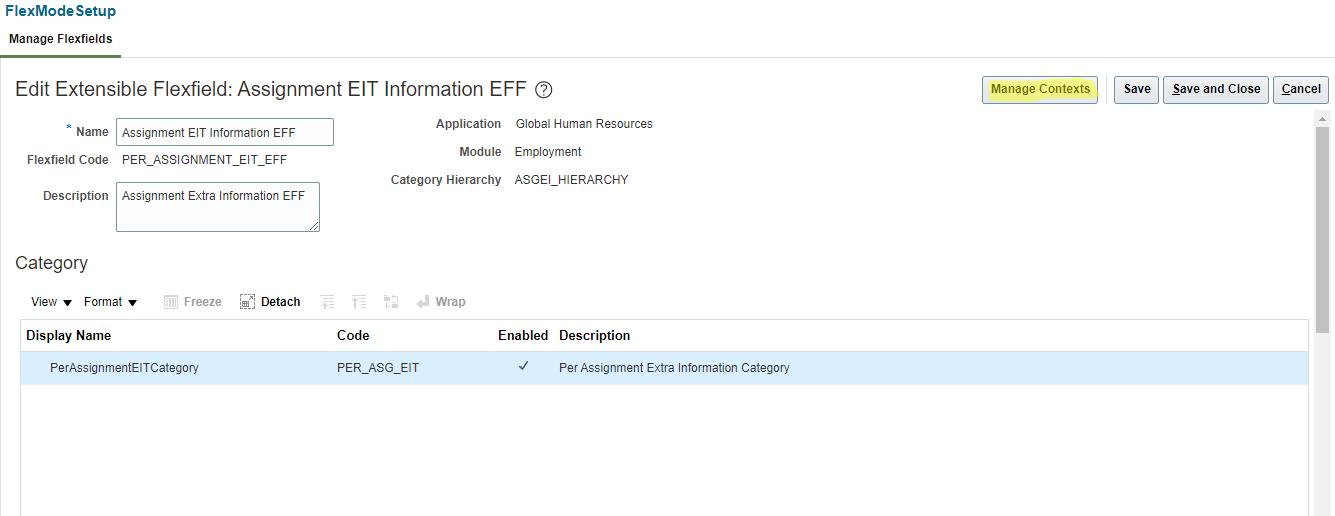

Now after saving the contexts under context sensitive Segment + icon will enable and we will click on the + icon and will create the segment based on our requirement. Will give the column name select unique key (for multi row property) and select data type (Character, Date, Number, Date and Time) based upon the requirement.
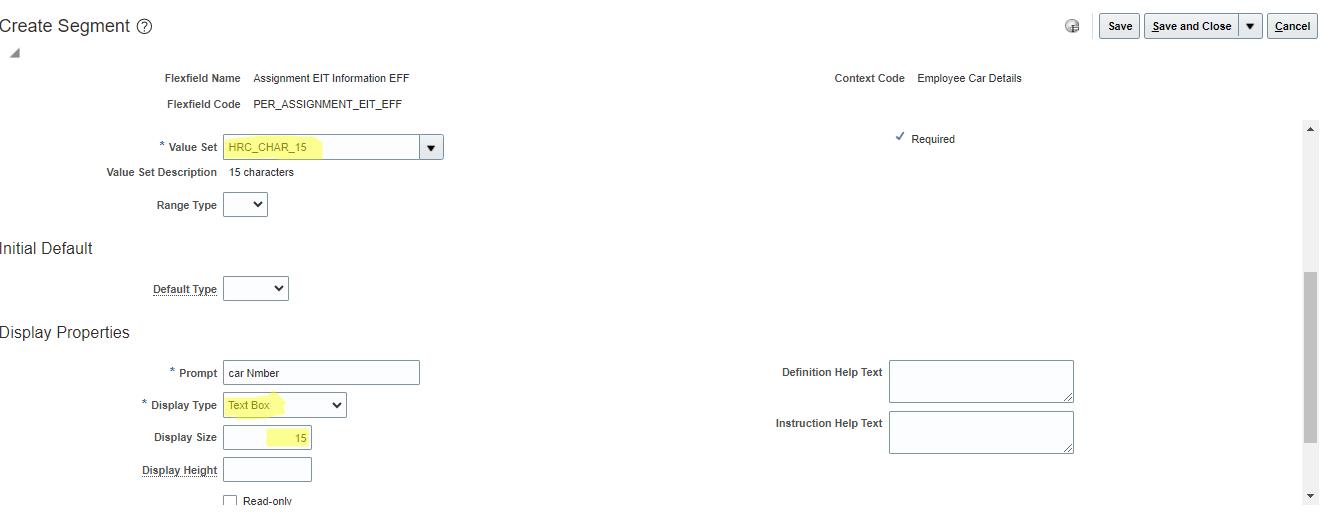
And after that create/select value set based on the requirement. Here I am selecting char value set because I want a text box where employee/HR can enter the details.
Based on that only we will add all the segment column as our requirement and we will click on the top on “Save” and after that save and close.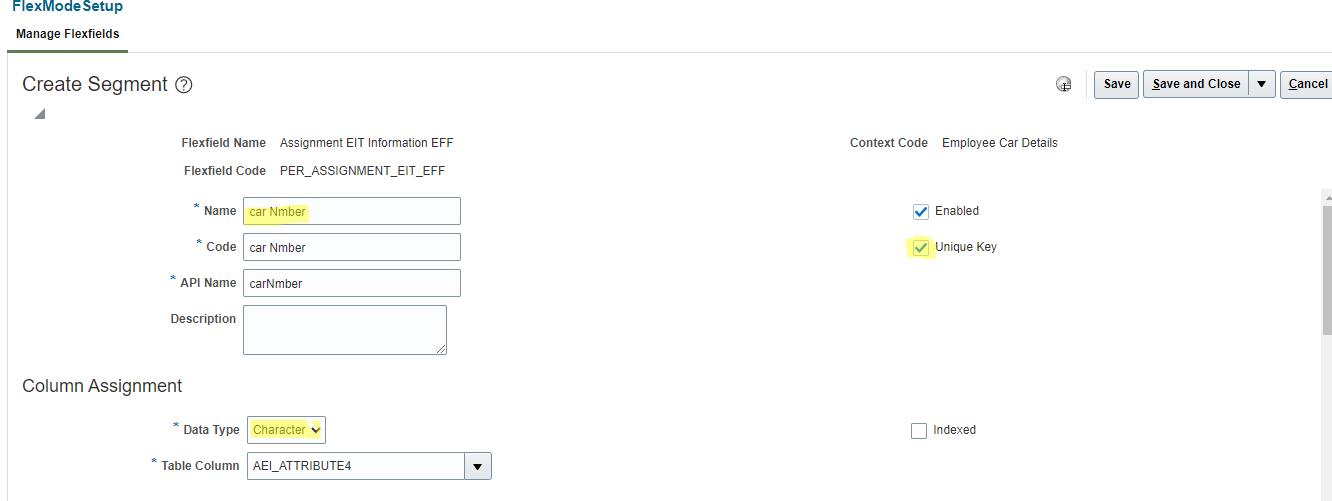

Now we have all the contexts segment so again we will click on save and after that save and close.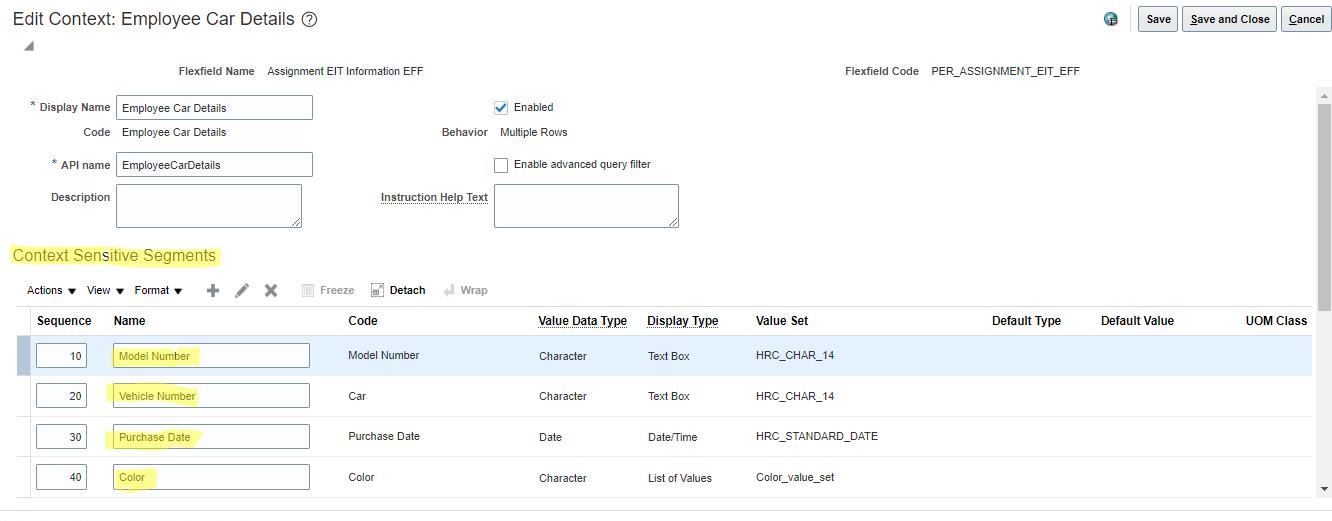
Now in the home page/flexfield edit page we have category tab we will go there and click on the category and we will get category details.
In the category details tab in top one + icon is there we will click on that and add our contexts in the “Associated Contexts” page.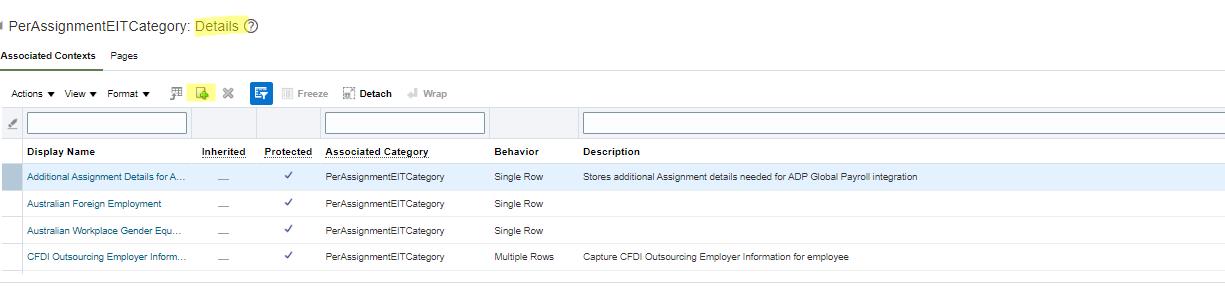
And this page will open we will search our contexts name and click on apply and ok. After that from
top we will save the changes.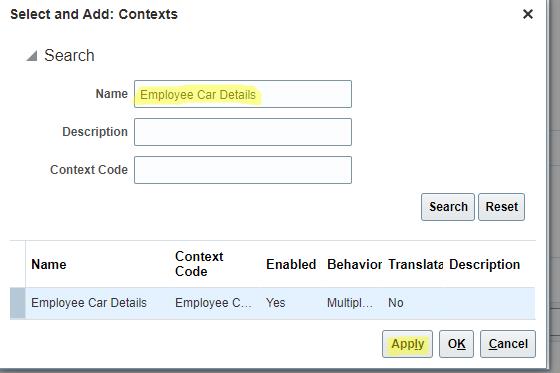
Now we can see our contexts under “Associated Contexts” tab.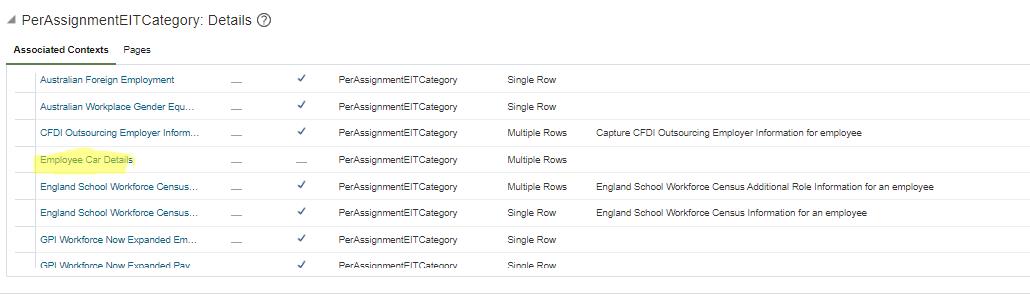
Now we will click on pages and I will add the contexts under “Assignment Extra Information” and we will save the changes and close the page.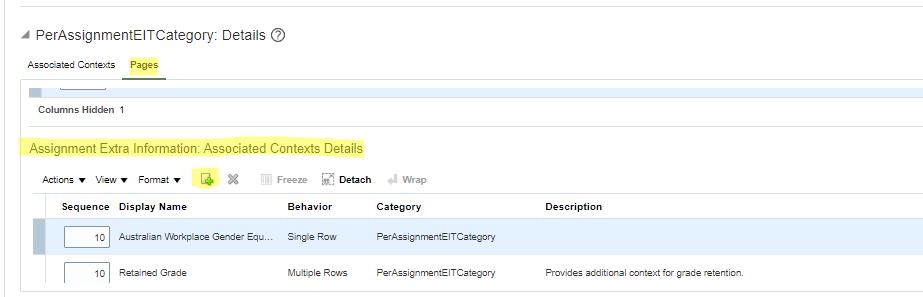
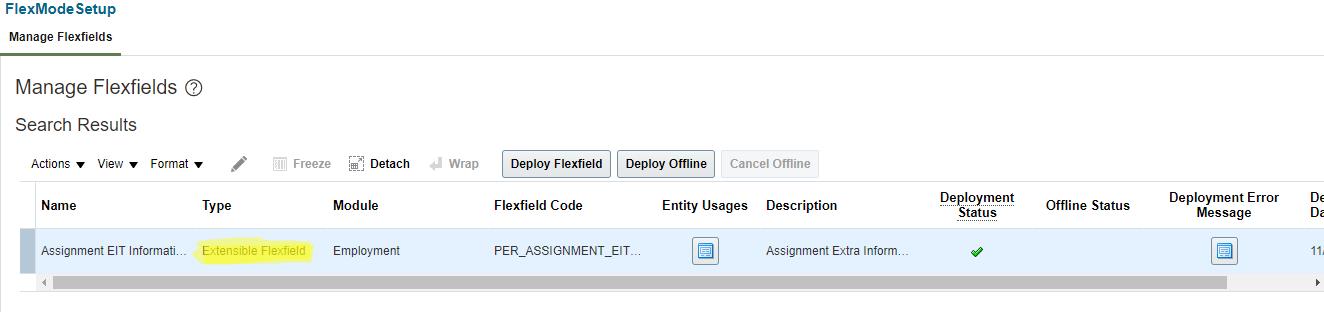
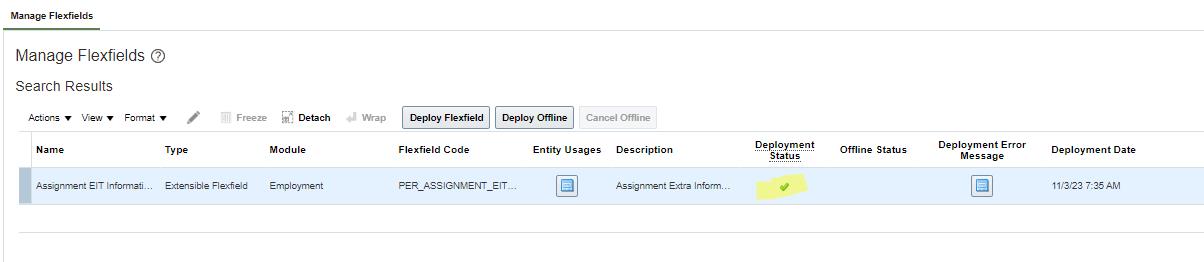
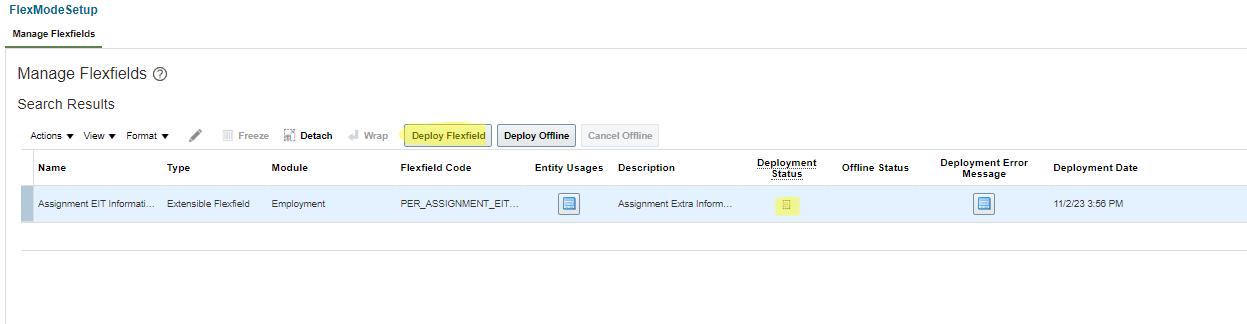
Now in the flexfield details page we will check the status and deploy the flexfield and after that we will sign-out and sign-in in the account and we will check the changes.
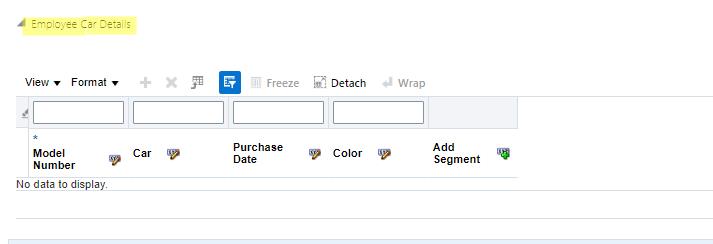
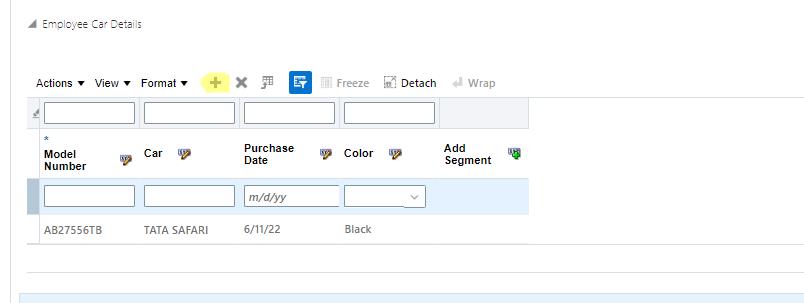
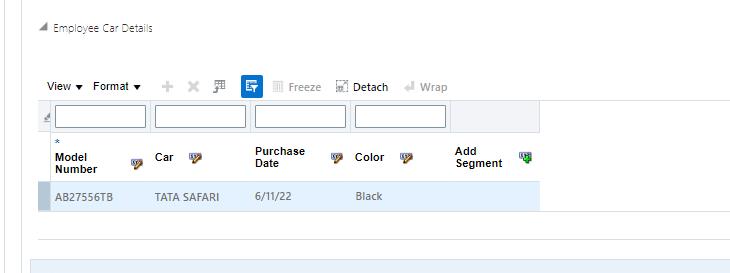
Now we can see the employee car details on the employment page if you want to add details in top click on edit and click on correct now in down employee car details tab click on + and add details and click on review and submit the details as shown below.